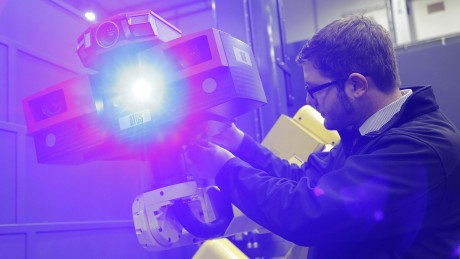
- A gleaming face: The industrial robot, here being adjusted by chassis measurement engineer Christoph Kohlbacher, works with a projector. Its blueish light is less susceptible to interference from ambient light, making precise scan measurements possible.
The Opel robot scans the dimensions of large chassis components quickly and precisely. This could include anything from hood frames to entire side panels.
How charming and disarming a robot’s periscope eyes can be has been widely known at least since 1986. At the time, a little robot struck by lightning captured the hearts and minds of moviegoers in the science fiction comedy ‘Short Circuit.’ It wowed them with its bright and cheery personality along with its ability to flip through books in seconds and glean all the knowledge and information they contained in the process.
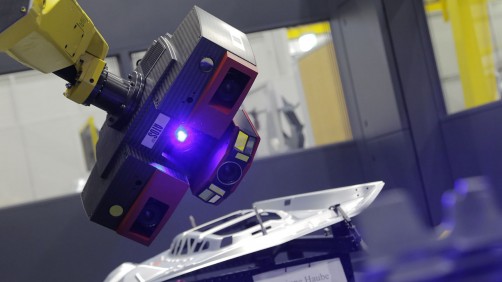
Peekaboo, I see you: The robot takes a look around.
Exactly 30 years later, a younger brother of Number 5 from Short Circuit seems to have appeared in the K40 hall in Rüsselsheim. It has the same striking face and giant, adorable periscope eyes. Given its official name is M20iA, it is hardly surprising that most prefer using the name of its cinematic counterpart. It works in the automobile industry and, like Number 5, is an amazingly good reader.
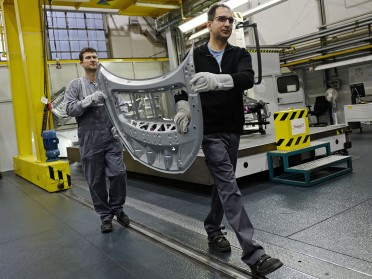
Measurement technicians doing the legwork: Ingo Krummeck and Michael Wettig carry a hood frame…
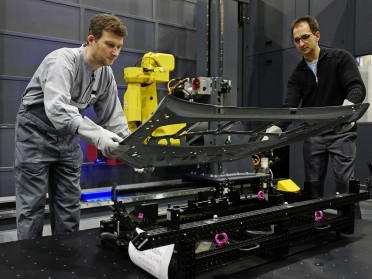
…into the scanning cell and position the chassis component.
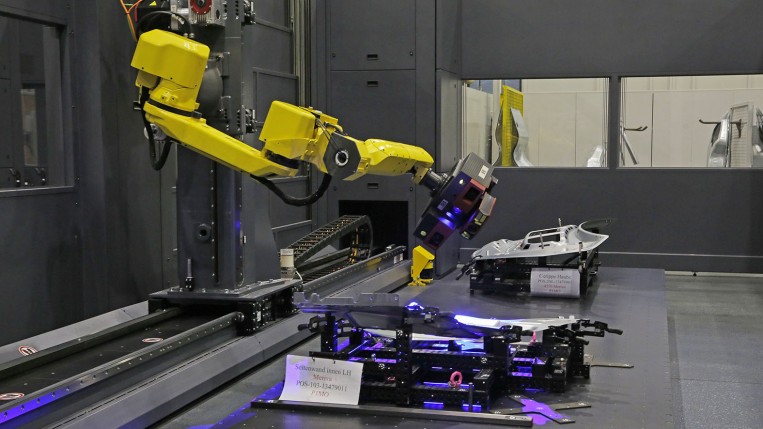
The ultramodern system was developed by the Gesellschaft für optische Messtechnik (GOM). Based out of Braunschweig, the company is market leader in the field of automated 3D metrology systems. Opel is the first vehicle manufacturer to work with the new generation of the scanning cell.
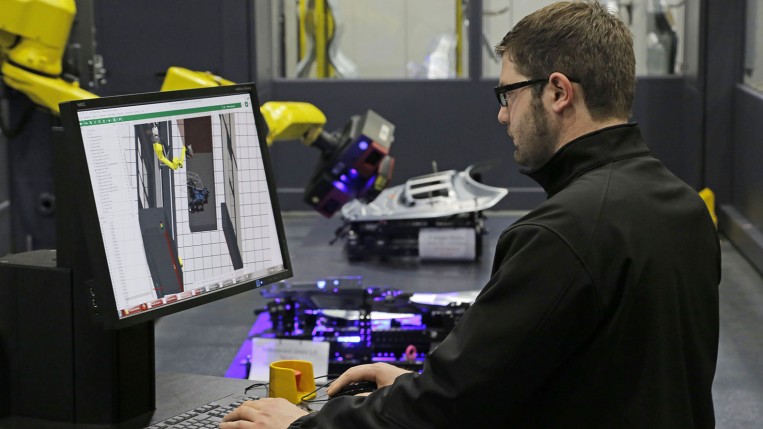
The scanning robot gets to work after engineer Christoph Kohlbacher has entered the targets on the computer.
“Thanks to the new technology, we are able to cut work process times by up to 80 percent.”
– Dirk Kissinger –
Project manager for
chassis measurement systems
More precisely, the Opel robot is able to scan the dimensions of large chassis components quickly and accurately. This could include anything from hood frames to entire side panels. Its adorable eyes are in fact 16 and 29-megapixel cameras. They form an LED blue light sensor together with a projector located at the center. The robot is the core component in a new, ultramodern system used in the tryout department at the central workshops’ compression mold production unit.
It’s a scanning cell measuring in at ten meters wide, nine meters long, and 2.4 meters high. “This cell makes optical 3D capture and analysis of the components during the launch and series production possible for the first time,” says Dirk Kissinger, project manager for chassis measurement systems. “Thanks to the new technology, we are able to cut work process times by up to 80 percent.”
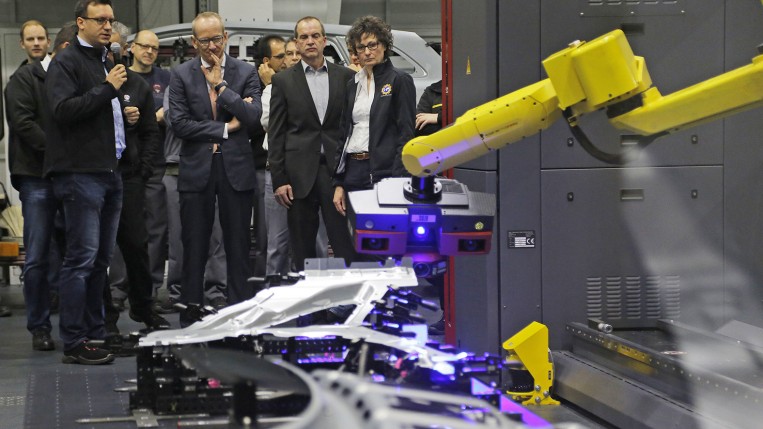
The boss wants to know: At the inauguration of the scanning cell, Project Manager Dirk Kissinger (with microphone) explains how the system works to the guests on hand, including Opel CEO Dr. Karl-Thomas Neumann.
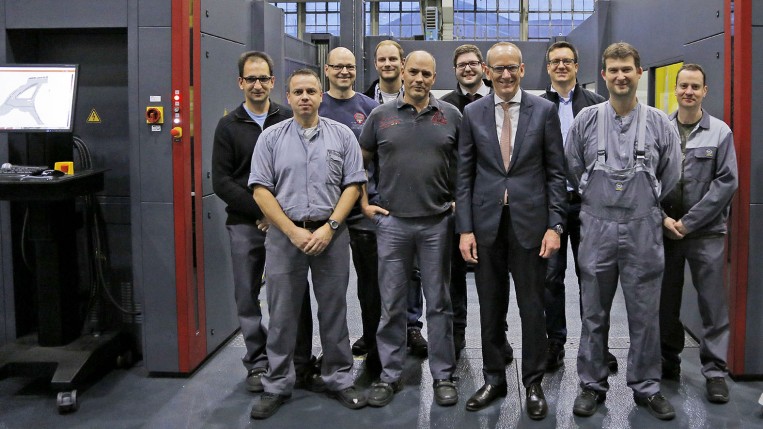
The specialty metrology team standing with Opel’s CEO (from left to right): Michael Wettig, Andreas Runkel, Matthias Walz, Philipp Wietschorke (student), Thomas Santl, Christoph Kohlbacher, Karl-Thomas Neumann, Dirk Kissinger, Ingo Krummeck, and Uwe Bachstöber.
The surface data is programmed, recorded, and evaluated using a single piece of software. After that, it sent to shop supervisors for analysis.
That is quite a lot when you consider that a typical car chassis consists of up to 500 individual sheet metal components. These are initially designed by developers on computers. But what about the parts that are actually built? What about their shape, length, and thickness? Do the positions of the holes match up? Up to now, this information has been provided by measuring devices that mechanically probe the components. Thanks to the highly agile M20iA, a.k.a. Number 5, that is capable of a wide range of vertical and horizontal movements, high-precision surface data is now available for large components. This is programmed, recorded, and evaluated using a single piece of software. After that, it sent to shop supervisors for analysis.
The scanning cell is currently undergoing process development and validation. Employees from Central Quality Assurance and the compression mold production unit are involved. According to Project Manager Dirk Kissinger, ‘Number 5’ is about to get company. Not only will identical scanning cells be installed in Rüsselsheim, but also at the sites in Gliwice, Ellesmere Port, and Saragossa as well over time.
Last update January 2016

